Nothing quite compares to the feeling of racing dirt bikes through the woods. You can feel the sun on your face, the wind in your hair, and the dust flying up behind you as you walk. This is such an exhilarating experience! But if you’re new to dirt bike riding, it can be a little daunting too.
The reason behind this is that when you are flying over jumps and riding the trails, you eventually run across sharp rocks that eventually damage the spokes and require a lacing.
Now, lacing in itself isn’t a tricky ordeal and with my help you can be a pro at this after a few tries. Just scroll down and start learning the ropes…
Step-by-step process: How to lace dirt bike wheels
As a dirt bike owner, it’s always best to have some technical knowledge about fixing these little things on your dirt bike on your own. It not only has the saves good bucks but also makes you feel more connected with your favorite bike.
Fortunately, lacing a tire is relatively straightforward, and it doesn’t require any special tools or skills. The most important thing is to have the right supplies on hand. This is just a simple matter of respoking the wheels.
In the following part, I will unfold the steps one by one which will help you to do a successful respoking of trail bike wheels.
Tools needed for wheel lacing
Just like any other dirt bike problem, you need some specific tools to make the lacing process swifter plus easier for you. After all, respoking the wheel is a fully technical task. So, get these tools and make your work smoother:
- Truing stand
- A worktable
- Angle grinder
- Eye protective glass
- Spoke nipples
- Drill machine with torque adjustment
- Anti-seize lubricant
- Right size spoke wrench
- Wheel spoke set
- Rim
- Hub
Now, we move on to the main event…
Step1: Dissemble the wheel
The first step is to completely disassemble the wheel. It is necessary to unmount the tire in order to do so. You will also have to remove the rim lock plus rim strip as well.
After that, you can start taking apart the rim. When you start removing the spokes, it’s a good idea to check different angles. Then make note of their location to make reassembly swift.
Step 2: Preparing the hubs
The first way would be to apply a little penetrating oil to each of the nipples making sure to spray them from both sides. Let that soak overnight or longer. Then try to loosen them.
Step 3: Cutting the spoke
Vice grips are necessary for clamping the spoke to prevent it from spinning. In case you failed to do so, cutting off the spokes is one of the fastest methods. It can save a lot of time & headaches.
Now go ahead and finish removing the spokes from the rim. When they are disconnected, you can easily get the rim out of the way.
Now grab all the spokes then just brush a little anti-seize on each of the spoke threads. It will help to prevent the spoke nipples from seizing up. It’s extremely important to understand the relation between the rim & spokes. The direction each hole faces alternates from the hole on either side of it.
This is so the rim can be evenly in both directions. Next place the hub onto the table. Now you will need a couple of blocks to sit the rim on you want to position the rim. So its sitting level is with the middle of the hub.
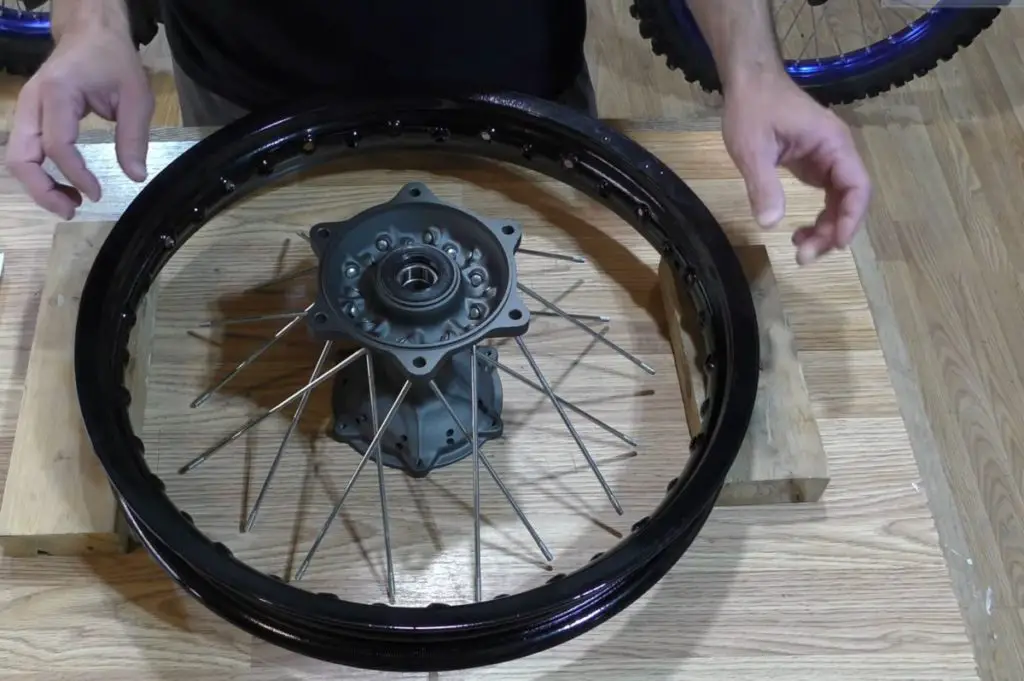
Step 4: Install outer & inner spokes
It’s time to install the spokes into the hub. First, you have to go for the lower or inner spokes. After installing all the inner spokes, you should go for the outer spokes. These outer spokes are going to lay across the top of the inner spokes.
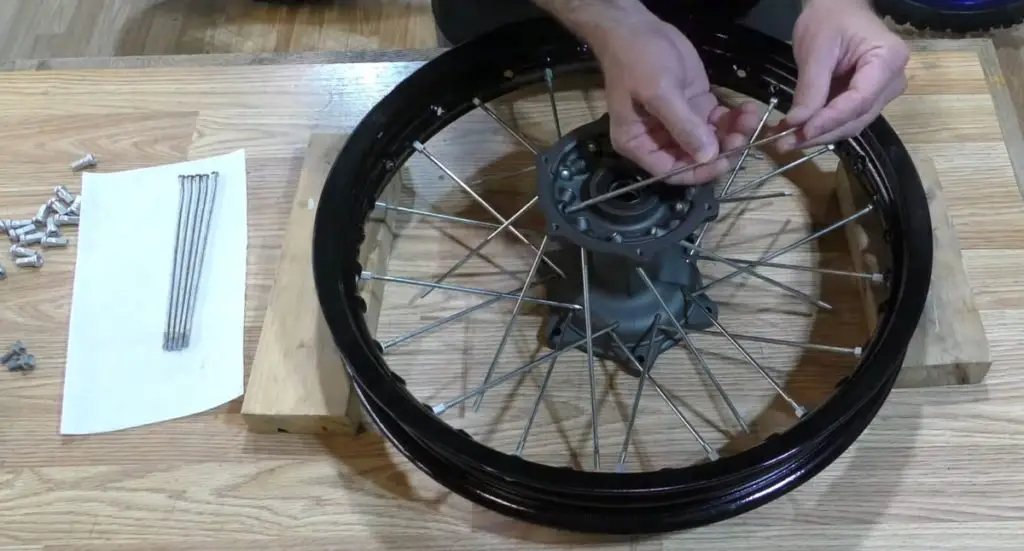
As you continue to insert the outer spokes, the start shape of the spokes will be much clear which indicates you are doing it right.
Now pick up an outer spoke and put it into the hole of the rim that it lines up. You will attach it to the nipple. After every three holes, you keep attaching the outer spokes into the hole with the help of a nipple.
It’s time to attach the inner spokes to the rim hole. These are going to render the holes in the middle of the outer spokes you just attached moments ago.
So after you put the first inner spokes into the hole it’s the same thing. Continue with the next hole after you skip three. That’s how you complete attaching the inner spokes.
Now flip the rim over & complete the other side using the same pattern. Upon completing, you will notice that the wheel is very loose after lacing.
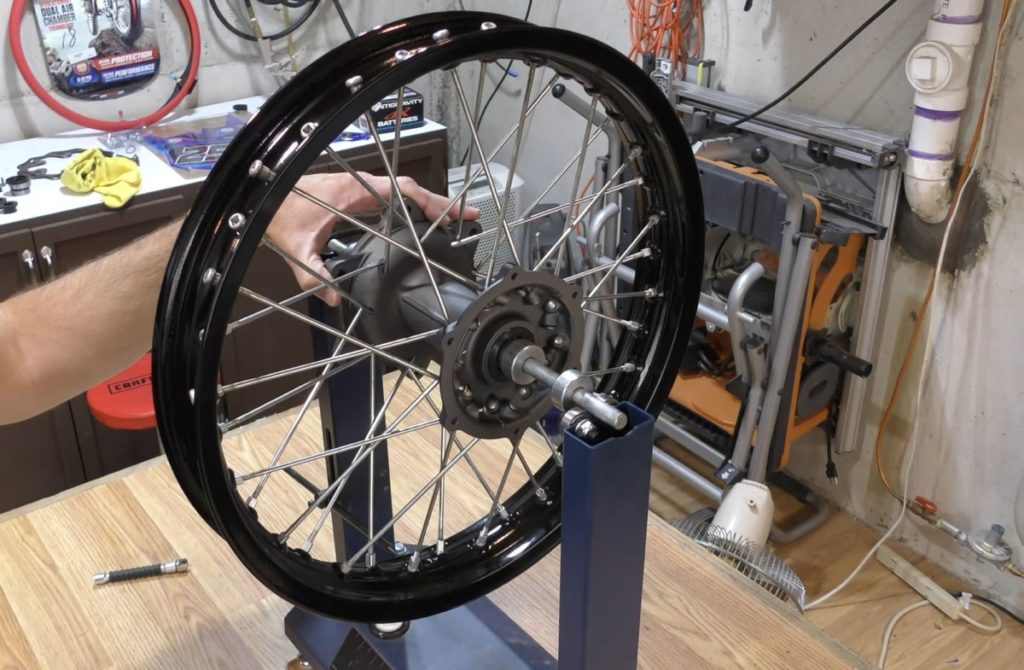
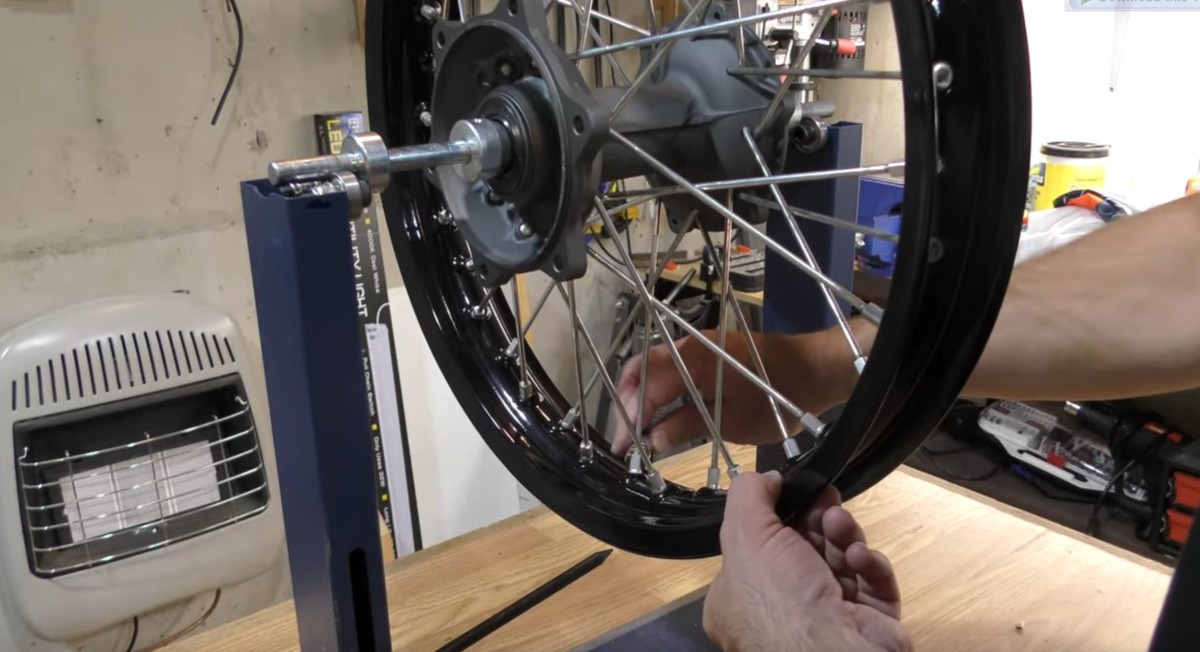
Step 5: Mount on the true stand & truing
A truing stand will be required for this step. Now you will have a brief idea of how to true a dirt bike wheel. You may adjust the rim’s orientation to fix it perfectly true and hop-free by looking at the pointer of the truing stand. Now, place the whole wheel into that stand.
Inspect your stand to make sure the cones are touching its inner bearing race but it’s not touching the rubber dust plugs. With your fingers, you can tighten nipples uniformly entirely, letting 0.125” up to 0.25 ′′ visibility of the treads on each spoke.
As a reference, use the valve stem hole. It would help to remove the majority of the slack from the wheel. Until all nipples are just barely secure, finger tighten them one-quarter turn at a single time. When the rim is too much on the right, tighten the left spoke nipples and loosen the right ones.
To check the wobbling and hopping of the wheel, you can utilize the reference pointer which comes with the truing stand.
The spokes which are on the right of that specific location should be loosened and those which are on the left should be tightened if the rim of the wheel is even more to the right. In most cases, the wheel just needs two spokes on both sides to function. The same idea holds true for places that jump, up, and down.
In case the rim is excessively low, bring that portion of the wheel’s surface near to the hub by uniformly tightening the nipples on each side.
Additionally, this will also include altering four or maybe more nipples. Loosen the nipples in that place if it is too high. The wheel will be smoother to tighten in the following stage if you can straighten it by hand as much as possible upfront.
Step 6: Tensioning & offset
When your wheel starts to tense up, inspect the offset then start comparing it to your first measurement. Tensioning is the process of restoring the wheel to its factory-specified tightness.
The idea is to torque the nipples equally all the way through, monitoring for wobbling plus hop on each lap all around the rim with the valve stem gap as a guide. This might be time-consuming, but it is where will be able to strengthen your wheel.
Moreover, your service handbook may specify the torque adjustment for your nipples, which will need the use of a good quality spoke torque wrench. You should also verify the offset at this point.
Final step
Using a conventional spoke wrench is best for getting the wheels to final tension, making sure to maintain a straight rim. By pressing the opposite side’s spokes of your wheel you can get the proper pitch of a correctly tensioned wheel.
A misaligned wheel makes a dull sound as the spokes turn. The spokes will emit a lovely ting sound when correctly tensioned. Excessive wheel stress can cause the hub to shatter and also the nipples to break through into the rim.
Whenever a spoke is peeking through to the nipple, polish it so that the inner layer tube is not perforated. Now it’s time to enjoy the new wheel after installing the new strip set, tires, and tubes on both tires of your dirt bike.
I think now it’s fully clear to you how to respoke a dirt bike wheel.
Last Words
Though you might be confused about whether you will be able to lace your dirt bike wheel or not. But in this article, I have included the start to the end of how to lace dirt bike wheels.
Hopefully, it would become an easy job for you. One suggestion from myself to you would be to not lose your focus during the steps.
Relevant Articles: